New – AWS Elemental Link – Deliver Live Video to the Cloud for Events & Streams
Video is central to so many online experiences. Regardless of the origin or creator, today’s viewers expect a high-resolution, broadcast-quality experience.
In sophisticated environments, dedicated hardware and an associated A/V team can capture, encode, and stream or store video that meets these expectations. However, cost and operational complexity have prevented others from delivering a similar experience. Classrooms, local sporting events, enterprise events, and small performance spaces do not have the budget or the specialized expertise needed to install, configure, and run the hardware and software needed to reliably deliver video to the cloud for processing, storage, and on-demand delivery or live streaming.
Introducing AWS Elemental Link
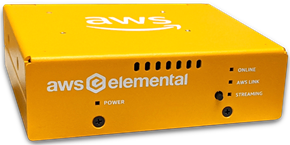 Today I would like to tell you about AWS Elemental Link. This new device connects live video sources to AWS Elemental MediaLive. The device is small (about 32 cubic inches) and weighs less than a pound. It draws very little power, is absolutely silent, and is available for purchase today at $995.
You can order these devices from the AWS Management Console and have them shipped to the intended point of use. They arrive preconfigured, and need only be connected to power, video, and the Internet. You can monitor and manage any number of Link devices from the console, without the need for specialized expertise at the point of use.
When connected to a video source, the Link device sends all video, audio, and metadata streams that arrive on the built-in 3G-SDI or HDMI connectors to AWS Elemental MediaLive, with automatic, hands-free tuning that adapts to available bandwidth. Once your video is in the cloud, you can use the full lineup of AWS Elemental Media Services to process, store, distribute, and monetize it.
Ordering an AWS Elemental Link
To get started, I visit the AWS Elemental Link Console and click Start order:
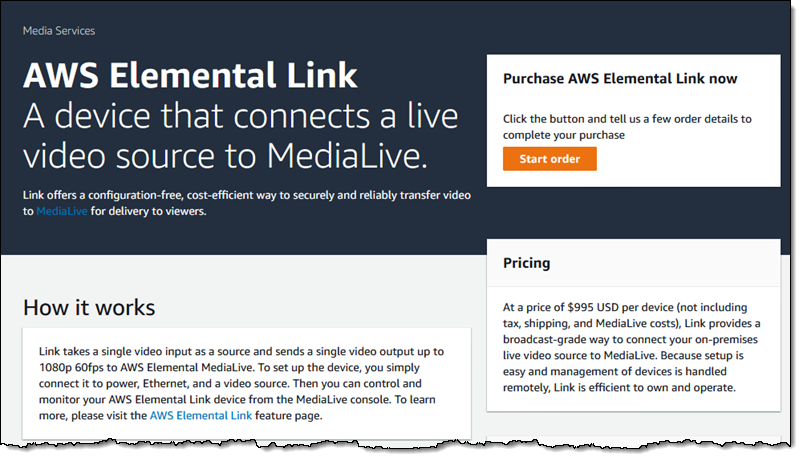
I indicate that I understands the Terms of Service, and click Continue to place order to proceed:

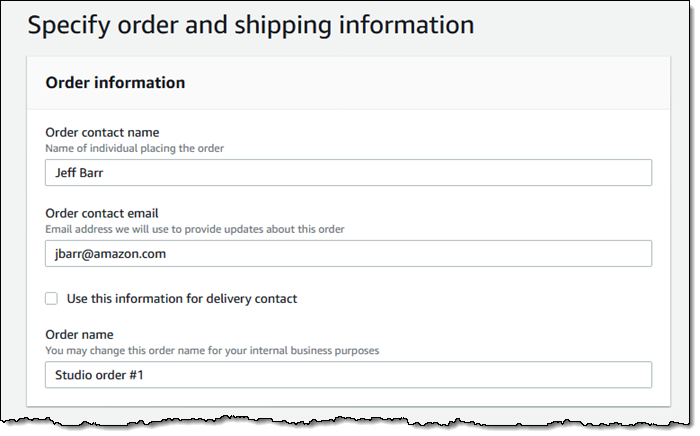
I enter my order, starting with contact information and an optional order name:
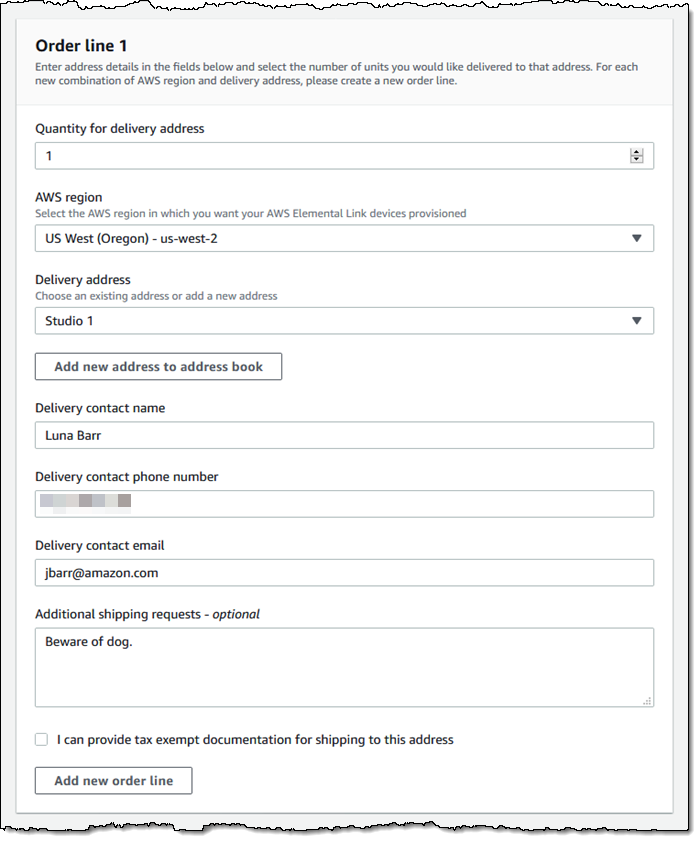
Then I enter individual order lines, and click Add new order line after each one. Each line represents one or more devices destined for one physical address. All of the devices in an order line are provisioned for the same AWS region:
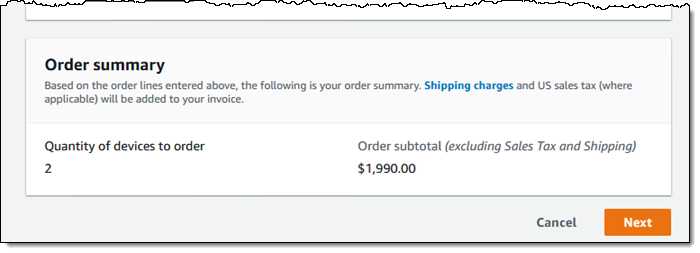
I can see my Order summary at the bottom. Once I have created all of the desired order lines I click Next to proceed:
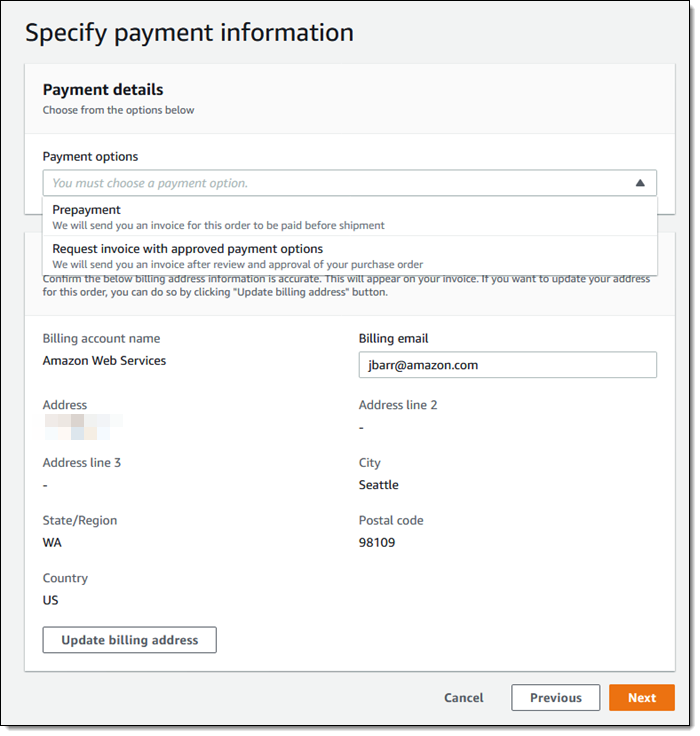
I choose a payment option, verify my billing address, and click Next:
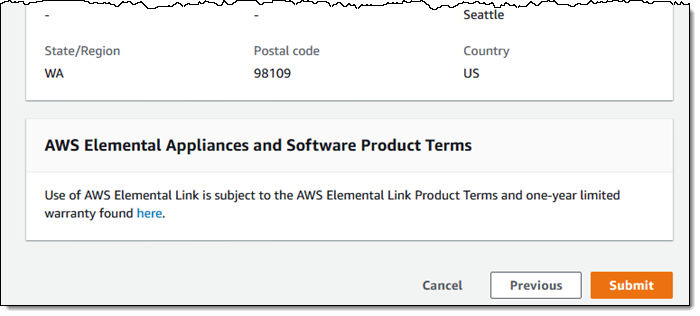
Then I review my order and click Submit to place it:
After I pay my invoice, I wait for my devices to arrive.
Connection & Setup
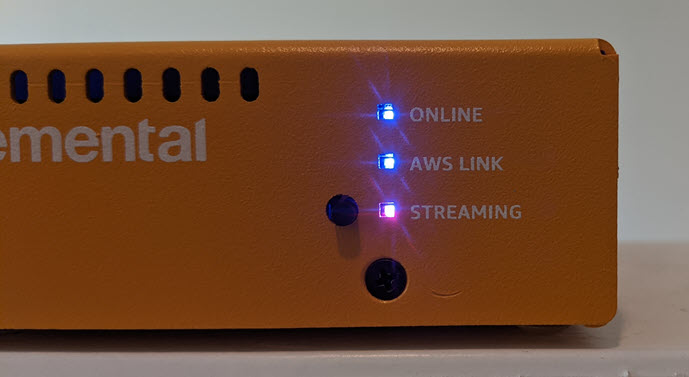
When my device arrives, I connect it to my network and my camera, and plug in the power supply. I wait a minute or so while the device powers up and connects to the network, AWS, and to my camera. When it is all set, the front panel looks like this:
Next, I open the AWS Elemental MediaLive Console and click Devices:
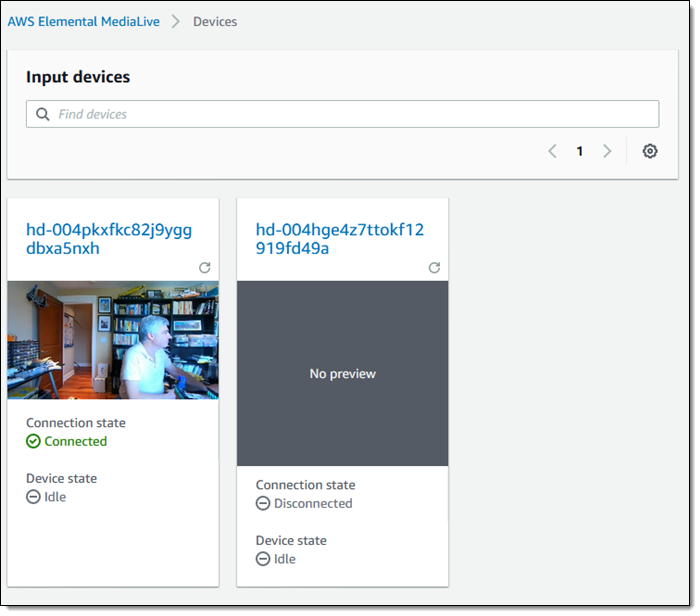
Now that everything is connected, I can create a MediaLive input (Studio1), selecting Elemental Link as the source and choosing one of the listed input devices:
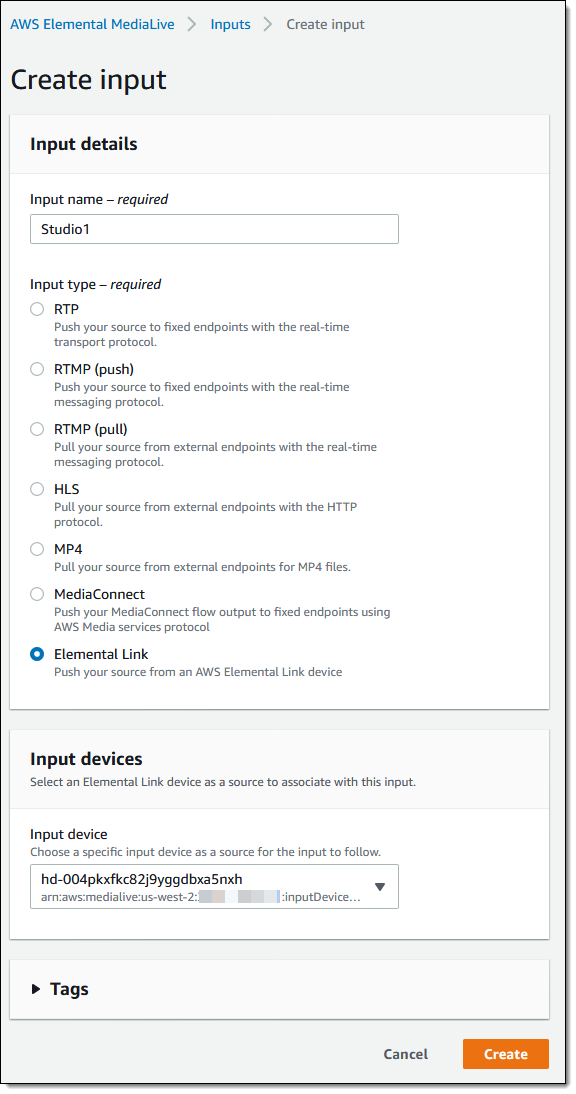
And that’s the setup and connection process. From here I would create a channel that references the input and then set up an output group to stream, archive, broadcast, or package the video stream. We’re building a CloudFormation-powered solution that will take care of all of this for you; stay tuned for details.
You can order your AWS Elemental Link today and start delivering video to the cloud in minutes!
— Jeff;
Source: AWS News


