New – AWS IoT Events: Detect and Respond to Events at Scale
As you may have been able to tell from many of the announcements that we have made over the last four or five years, we are working to build a wide-ranging set of Internet of Things (IoT) services and capabilities. Here’s a quick recap:
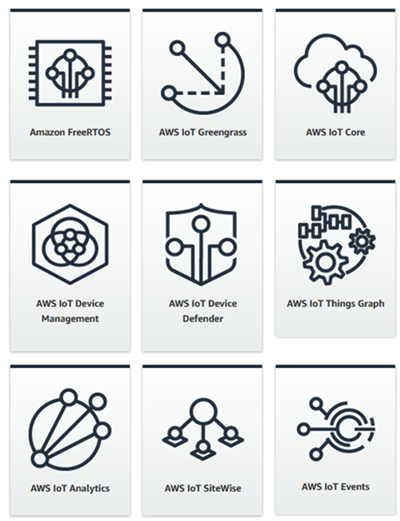 October 2015 – AWS IoT Core – A fundamental set of Cloud Services for Connected Devices.
Jun 2017 – AWS Greengrass – The ability to Run AWS Lambda Functions on Connected Devices.
November 2017 – AWS IoT Device Management – Onboarding, Organization, Monitoring, and Remote Management of Connected Devices.
November 2017 – AWS IoT Analytics – Advanced Data Analysis for IoT Devices.
November 2017 – Amazon FreeRTOS – An IoT Operating System for Microcontrollers.
April 2018 – Greengrass ML Inference – The power to do Machine Learning Inference at the Edge.
August 2018 – AWS IoT Device Defender – A service that helps to Keep Your Connected Devices Safe.
Last November we also announced our plans to launch four new IoT Services:
- AWS IoT SiteWise to collect, structure, and search data from industrial equipment at scale.
- AWS IoT Events to detect and respond to events at scale.
- AWS IoT Things Graph to build IoT applications visually.
- AWS IoT Greengrass Connectors to simplify and accelerate the process of connecting devices.
You can use these services individually or together to build all sorts of powerful, connected applications!
AWS IoT Events Now Available
Today we are making AWS IoT Events available in production form in four AWS Regions. You can use this service to monitor and respond to events (patterns of data that identify changes in equipment or facilities) at scale. You can detect a misaligned robot arm, a motion sensor that triggers outside of business hours, an unsealed freezer door, or a motor that is running outside of tolerance, all with the goal of driving faster and better-informed decisions.
As you will see in a moment, you can easily create detector models that represent your devices, their states, and the transitions (driven by sensors and events, both known as inputs) between the states. The models can trigger actions when critical events are detected, allowing you to build robust, highly automated systems. Actions can, for example, send a text message to a service technician or invoke an AWS Lambda function.
You can access AWS IoT Events from the AWS IoT Event Console or by writing code that calls the AWS IoT Events API functions. I’ll use the Console, and I will start by creating a detector model. I click Create detector model to begin:
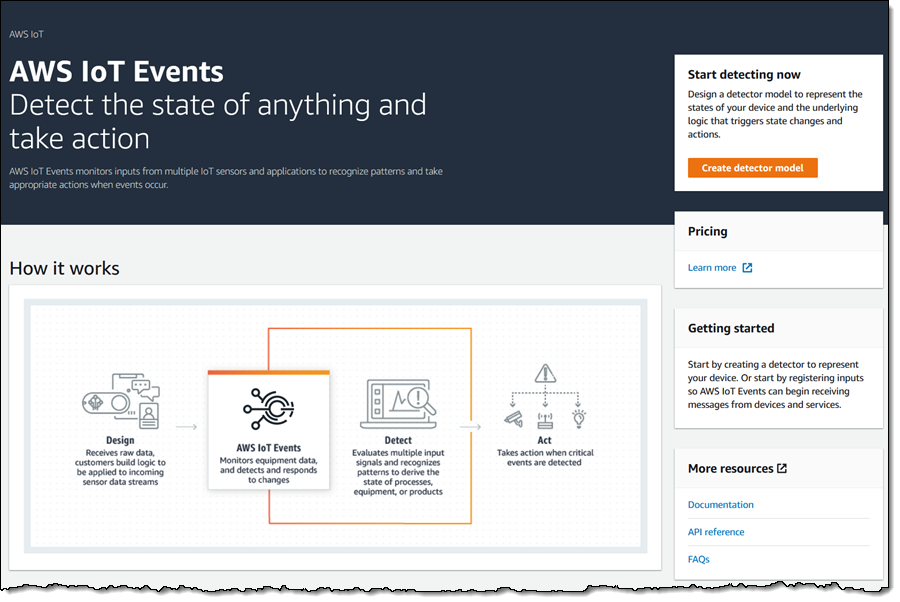
I have three options; I’ll go with the demo by clicking Launch demo with inputs:
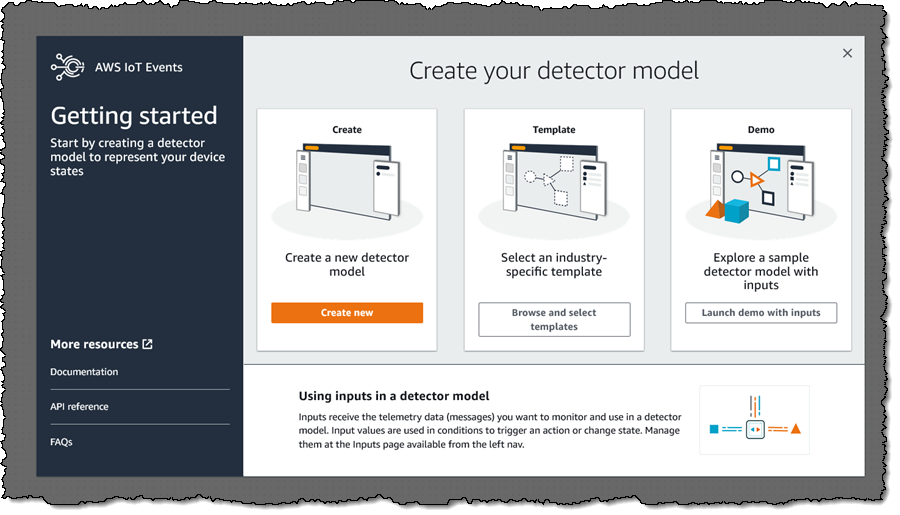
This shortcut creates an input and a model, and also enables some “demo” functionality that sends data to the model. The model looks like this:
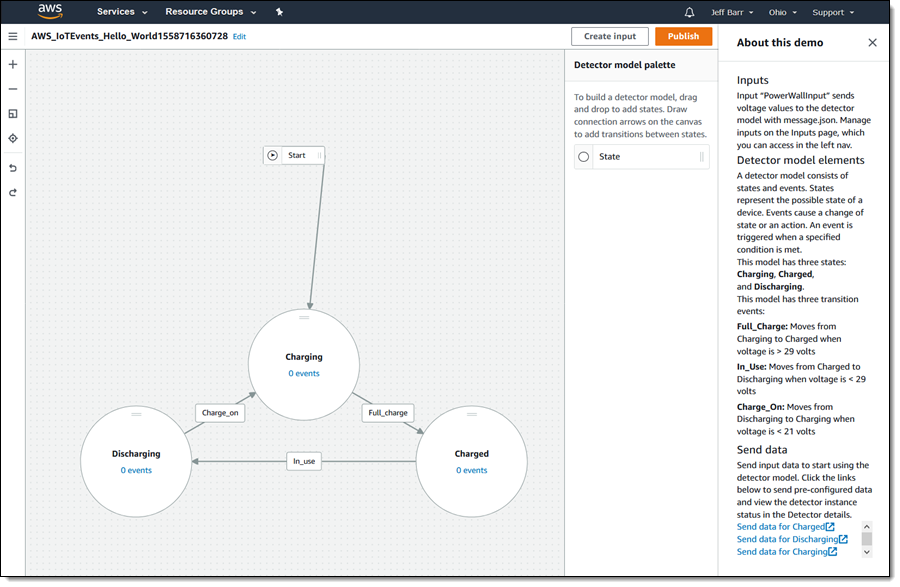
Before examining the model, let’s take a look at the input. I click on Inputs in the left navigation to see them:
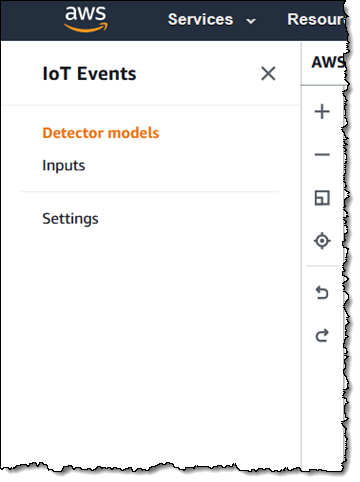
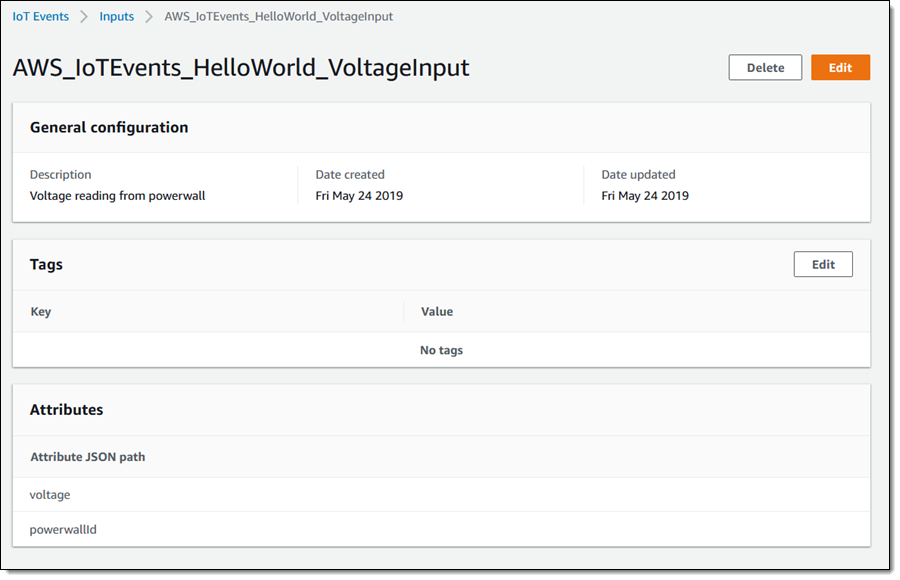
I can see all of my inputs at a glance; I click on the newly created input to learn more:

This input represents the battery voltage measured from a device that is connected to a particular powerwallId:
Ok, let’s return to (and dissect) the detector model! I return to the navigation, click Detector models, find my model, and click it:
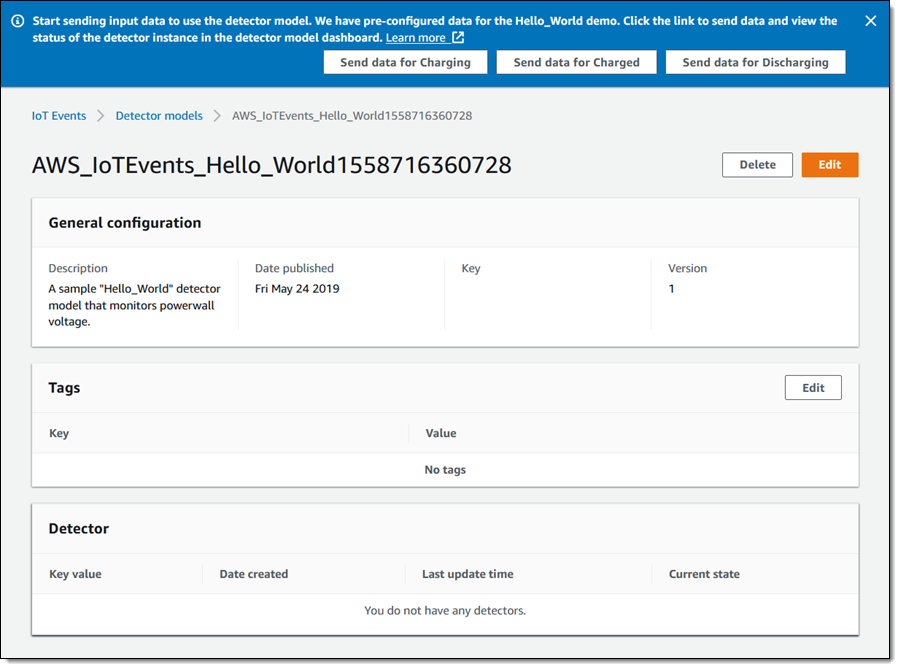
There are three Send options at the top; each one sends data (an input) to the detector model. I click on Send data for Charging to get started. This generates a message that looks like this; I click Send data to do just that:
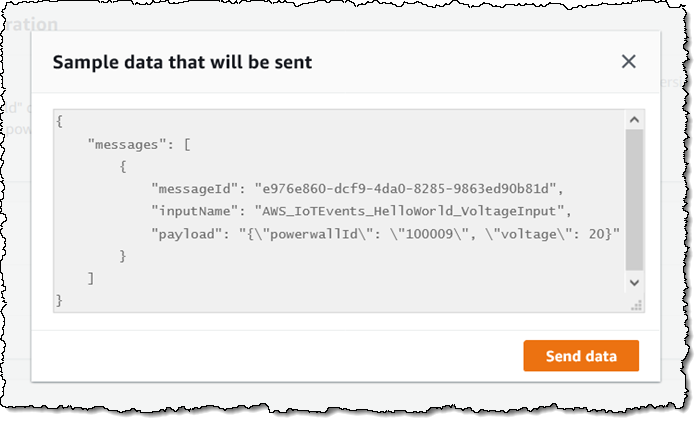
Then I click Send data for Charged to indicate that the battery is fully charged. The console shows me the state of the detector:

Each time an input is received, the detector processes it. Let’s take a closer look at the detector. It has three states (Charging, Charged, and Discharging):
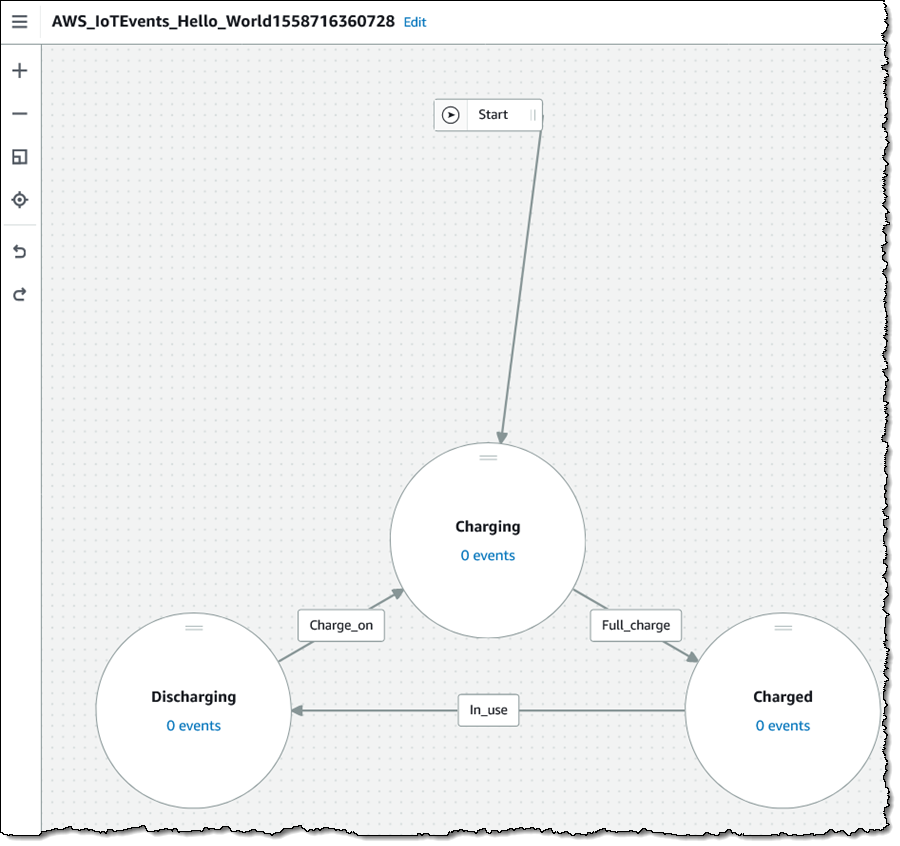
The detector starts out in the Charging state, and transitions to Charged when the Full_charge event is triggered. Here’s the definition of the event, including the trigger logic:
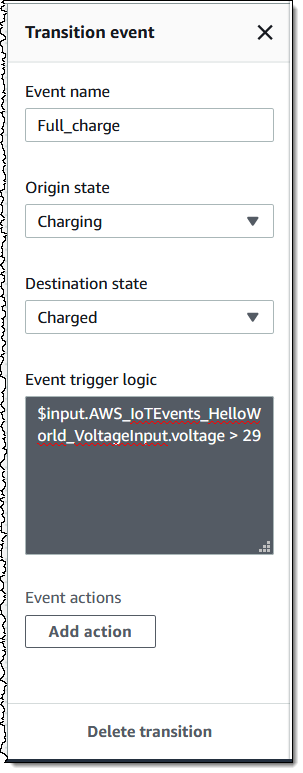
The trigger logic is evaluated each time an input is received (your IoT app must call BatchPutMessage to inform AWS IoT Events). If the trigger logic evaluates to a true condition, the model transitions to the new (destination) state, and it can also initiate an event action. This transition has no actions; I can add one (or more) by clicking Add action. My choices are:
- Send MQTT Message – Send a message to an MQTT topic.
- Send SNS Message – Send a message to an SNS target, identifed by an ARN.
- Set Timer – Set, reset, or destroy a timer. Times can be expressed in seconds, minutes, hours, days, or months.
- Set Variable – Set, increment, or decrement a variable.
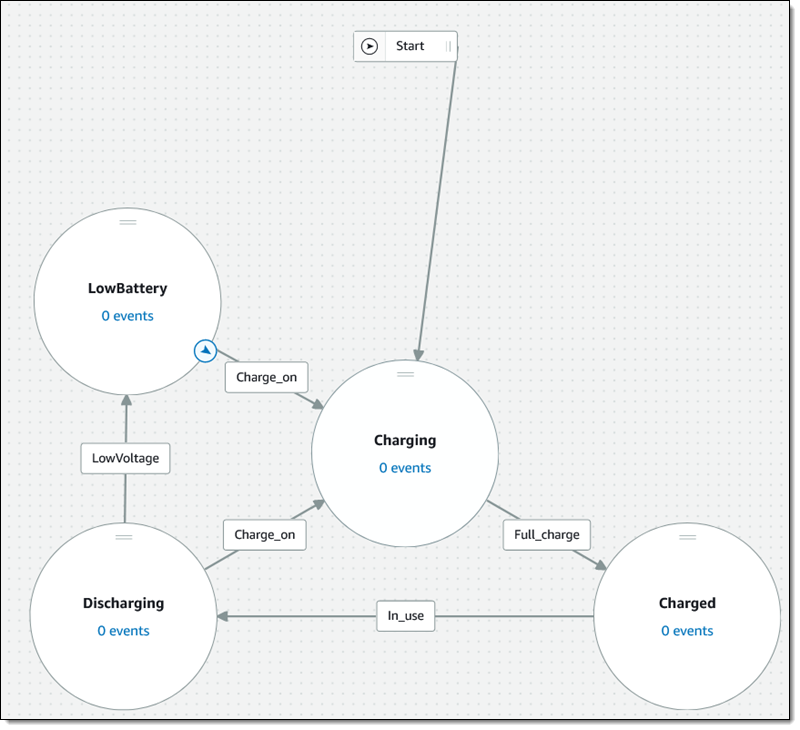
Returning (once again) to the detector, I can modify the states as desired. For example, I could fine-tune the Discharging aspect of the detector by adding a LowBattery state:
After I create my inputs and my detector, I Publish the model so that my IoT devices can use and benefit from it. I click Publish and fill in a few details:
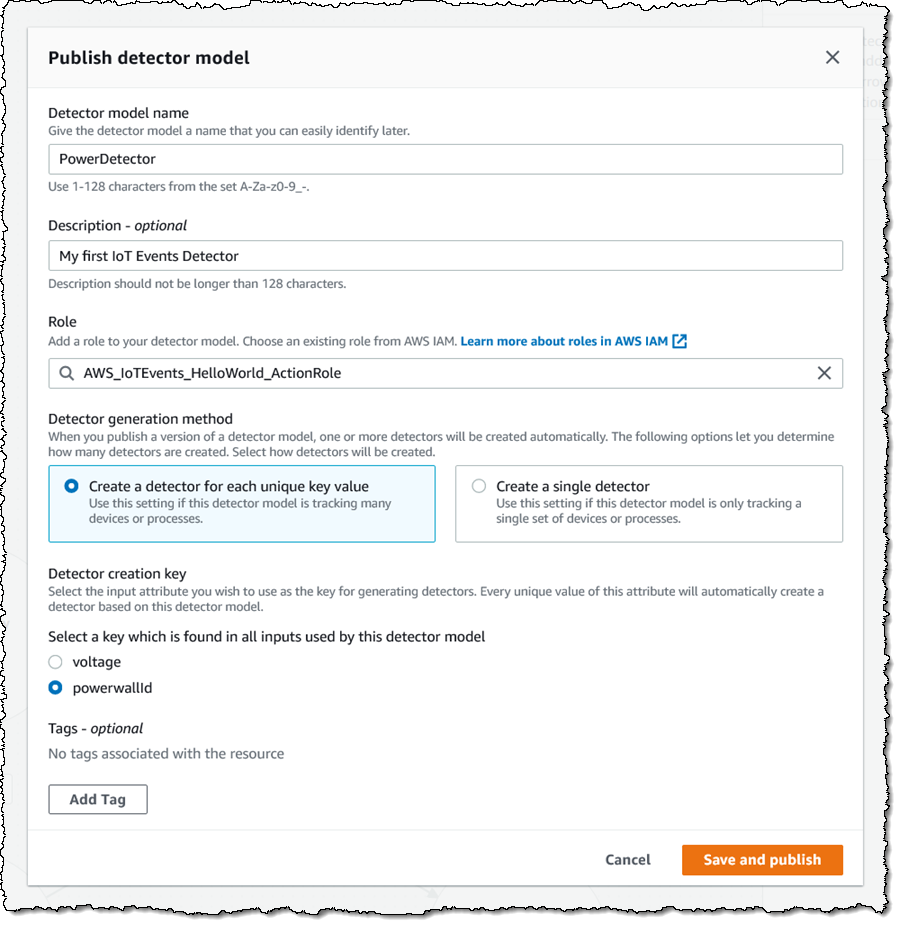
The Detector generation method has two options. I can Create a detector for each unique key value (if I have a bunch of devices), or I can Create a single detector (if I have one device). If I choose the first option, I need to choose the key that separates one device from another.
Once my detector has been published, I can send data to it using AWS IoT Analytics, IoT Core, or from a Lambda function.
Get Started Today
We are launching AWS IoT Events in the US East (N. Virginia), US East (Ohio), US West (Oregon), and Europe (Ireland) Regions and you can start using it today!
— Jeff;
Source: AWS News


