Now Available – Amazon Relational Database Service (RDS) on VMware
Last year I told you that we were working to give you Amazon RDS on VMware, with the goal of bringing many of the benefits of Amazon Relational Database Service (RDS) to your on-premises virtualized environments. These benefits include the ability to provision new on-premises databases in minutes, make backups, and restore to a point in time. You get automated management of your on-premises databases, without having to provision and manage the database engine.
Now Available
Today, I am happy to report that Amazon RDS on VMware is available for production use, and that you can start using it today. We are launching with support for Microsoft SQL Server, PostgreSQL, and MySQL.
Here are some important prerequisites:
Compatibility – RDS on VMware works with vSphere clusters that run version 6.5 or better.
Connectivity – Your vSphere cluster must have outbound connectivity to the Internet, and must be able to make HTTPS connections to the public AWS endpoints.
Permissions – You will need to have Administrative privileges (and the skills to match) on the cluster in order to set up RDS on VMware. You will also need to have (or create) a second set of credentials for use by RDS on VMware.
Hardware – The hardware that you use to host RDS on VMware must be listed in the relevant VMware Hardware Compatibility Guide.
Resources – Each cluster must have at least 24 vCPUs, 24 GiB of memory, and 180 GB of storage for the on-premises management components of RDS on VMware, along with additional resources to support the on-premises database instances that you launch.
Setting up Amazon RDS on VMware
Due to the nature of this service, the setup process is more involved than usual and I am not going to walk through it at my usual level of detail. Instead, I am going to outline the process and refer you to the Amazon RDS on VMware User Guide for more information. During the setup process, you will be asked to supply details of your vCenter/ESXi configuration. For best results, I advise a dry-run through the User Guide so that you can find and organize all of the necessary information.
Here are the principal steps, assuming that you already have a running vSphere data center:
Prepare Environment – Check vSphere version, confirm storage device & free space, provision resource pool.
Configure Cluster Control Network – Create a network for control traffic and monitoring. Must be a vSphere distributed port group with 128 to 1022 ports.
Configure Application Network – This is the network that applications, users, and DBAs will use to interact with the RDS on VMware DB instances. It must be a vSphere distributed port group with 128 to 1022 ports, and it must span all of the ESXi hosts that underly the cluster. The network must have an IPv4 subnet large enough to accommodate all of the instances that you expect to launch. In many cases your cluster will already have an Application Network.
Configure Management Network – Configure your ESXi hosts to add a route to the Edge Router (part of RDS on VMware) in the Cluster Control Network
Configure vCenter Credentials – Create a set of credentials for use during the onboarding process.
Configure Outbound Internet Access – Confirm that outbound connections can be made from the Edge Router in your virtual data center to AWS services.
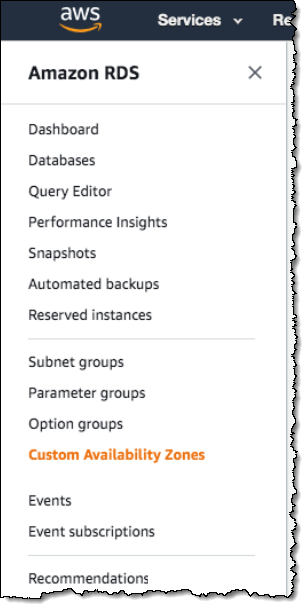
With the preparatory work out of the way, the next step is to bring the cluster onboard by creating a custom (on-premises) Availability Zone and using the installer to install the product. I open the RDS Console, choose the US East (N. Virginia) Region, and click Custom availability zones:
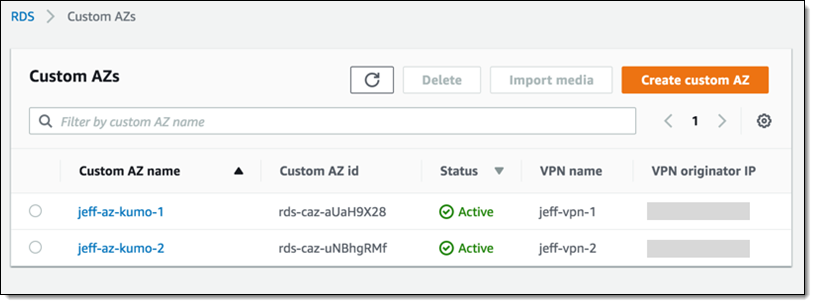
I can see my existing custom AZs and their status. I click Create custom AZ to proceed:
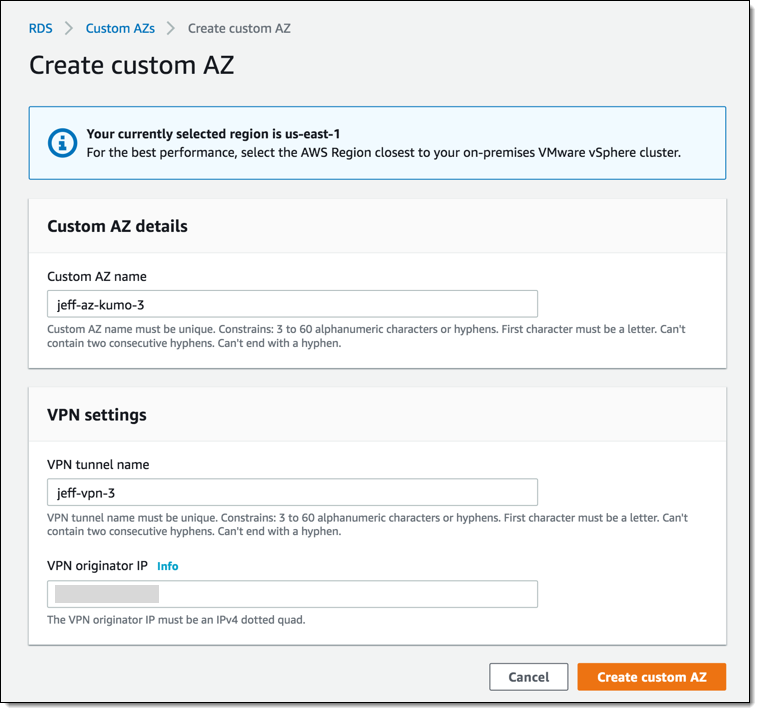
I enter a name for my AZ and for the VPN tunnel between the selected AWS region and my vSphere data center, and then I enter the IP address of the VPN. Then I click Create custom AZ:
My new AZ is visible, in status Unregistered:
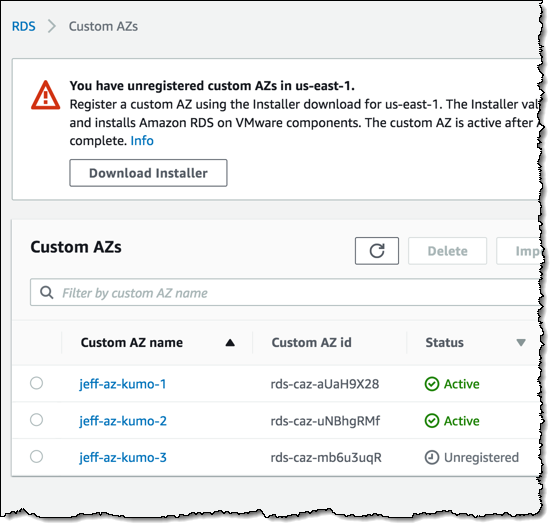
To register my vSphere cluster as a Custom AZ, I click Download Installer from the AWS Console to download the RDS on VMware installer. I deploy the installer in my cluster and follow through the guided wizard to fill in the network configurations, AWS credentials, and so forth, then start the installation. After the installation is complete, the status of my custom AZ will change to Active. Behind the scenes, the installer automatically deploys the on-premises components of RDS on VMware and connects the vSphere cluster to the AWS region.
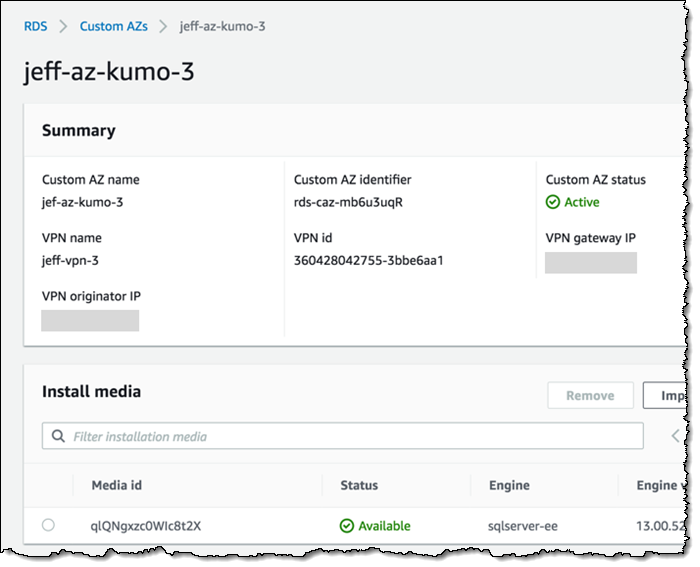
Some of the database engines require me to bring my own media and an on-premises license. I can import the installation media that I have in my data center onto RDS and use it to launch the database engine. For example, here’s my media image for SQL Server Enterprise Edition:
The steps above must be done on a cluster-by-cluster basis. Once a cluster has been set up, multiple Database instances can be launched, based on available compute, storage, and network (IP address) resources.
Using Amazon RDS for VMware
With all of the setup work complete, I can use the same interfaces (RDS Console, RDS CLI, or the RDS APIs) to launch and manage Database instances in the cloud and on my on-premises network.
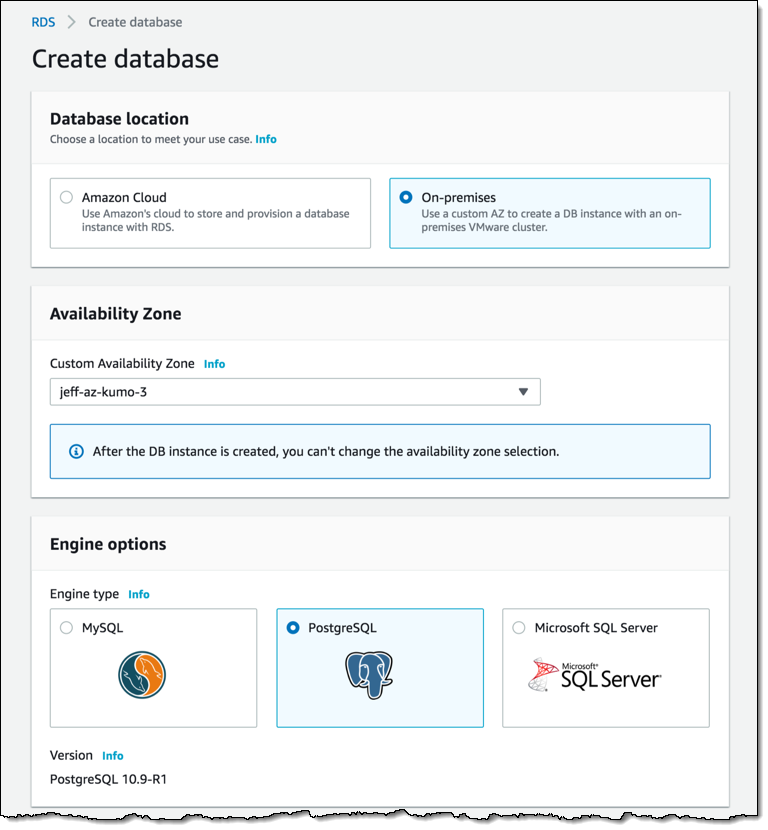
I’ll use the RDS Console, and click Create database to get started. I choose On-premises and pick my custom AZ, then choose a database engine:
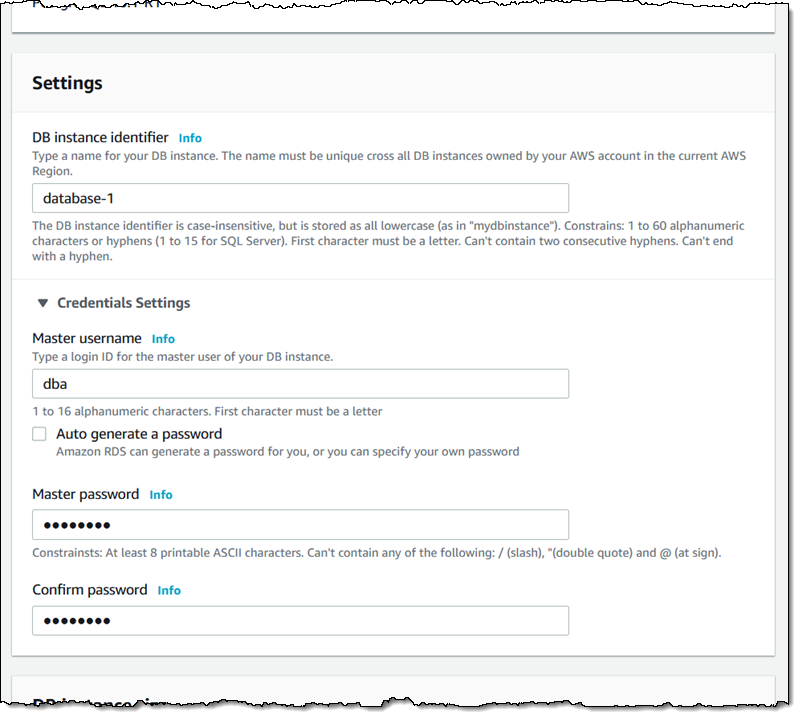
I enter a name for my instance, another name for the master user, and enter (or let RDS assign) a password:
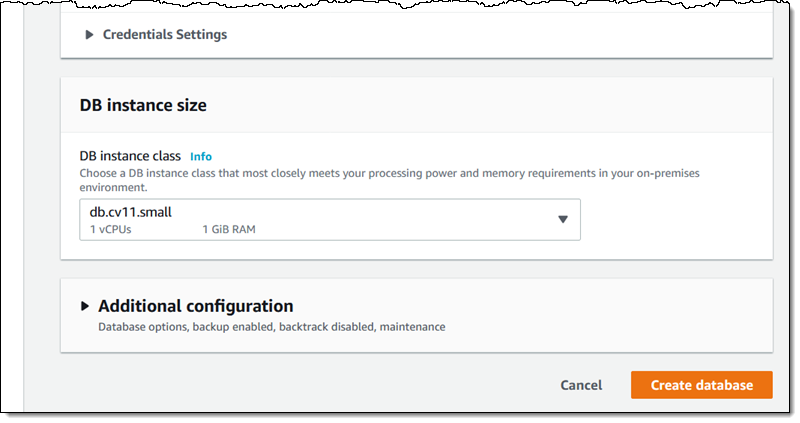
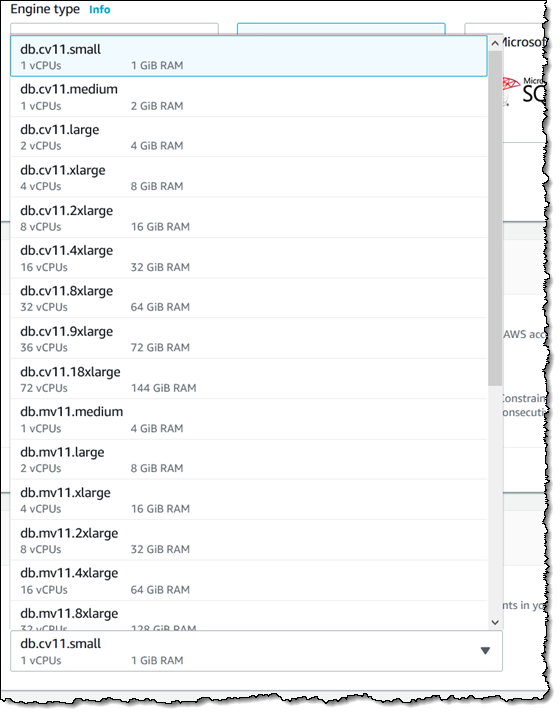
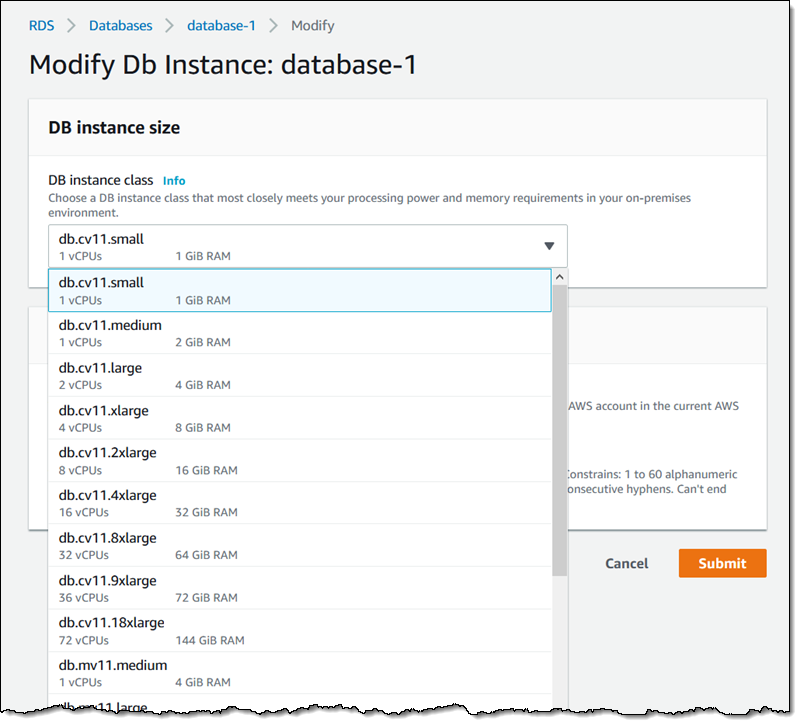
Then I pick the DB instance class (the v11 in the names refers to version 11 of the VMware virtual hardware definition) and click Create database:
Here’s a more detailed look at some of the database instance sizes. As is the case with cloud-based instance sizes, the “c” instances are compute-intensive, the “r” instances are memory-intensive, and the “m” instances are general-purpose:
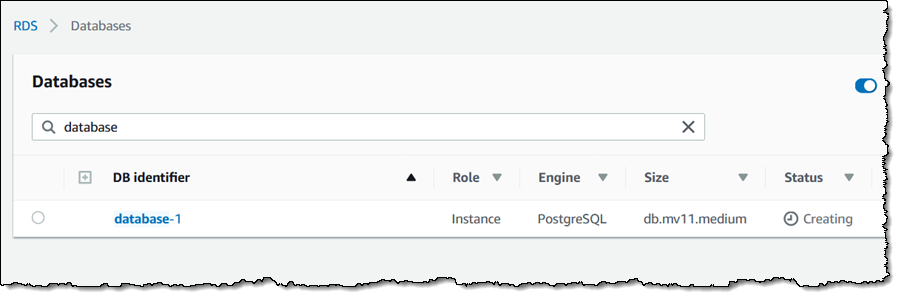
The status of my new database instance starts out as Creating, and progresses though Backing-up and then to Available:
Once it is ready, the endpoint is available in the console:
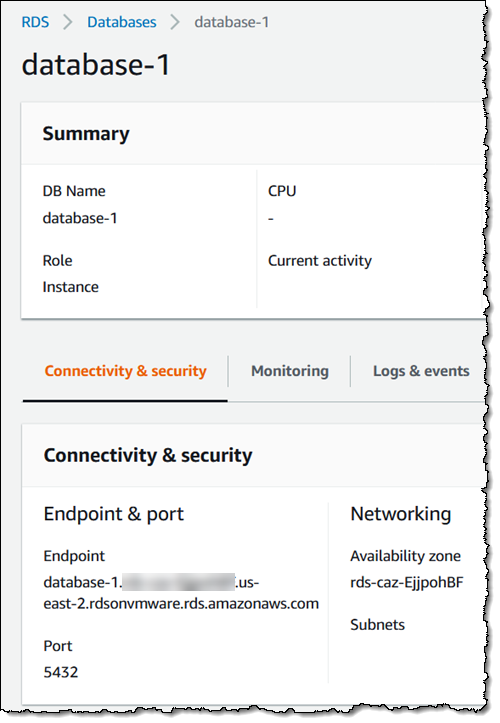
On-premises applications can use this endpoint to connect to the database instance across the Application Network.
Before I wrap up, let’s take a look at a few other powerful features of RDS on VMware: Snapshot backups, point-in-time restores, and the power to change the DB instance class.
Snapshot backups are a useful companion to the automated backups taken daily by RDS on VMware. I simply select Take snapshot from the Action menu:
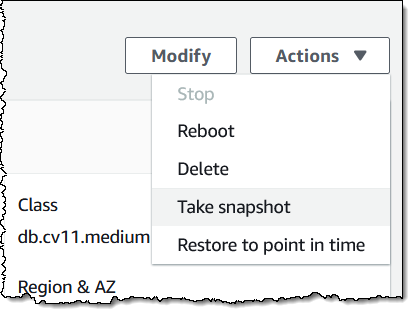
To learn more, read Creating a DB Snapshot.
Point in time recovery allows me to create a fresh on-premises DB instance based on the state of an existing one at an earlier point in time. To learn more, read Restoring a DB Instance to a Specified Time.
I can change the DB instance class in order to scale up or down in response to changing requirements. I select Modify from the Action menu, choose the new class, and click Submit:
The modification will be made during the maintenance window for the DB instance.
A few other features that I did not have the space to cover include renaming an existing DB instance (very handy for disaster recovery), and rebooting a DB instance.
Available Now
Amazon RDS on VMware is available now and you can start using it today in the US East (N. Virginia) Region.
— Jeff;


Source: AWS News